Setting Up BitLocker with YubiKey as Smart Card
Setting Up BitLocker with YubiKey as Smart Card
January 9, 2021
Overview
This guide provides steps to configure a BitLocker encrypted drive that can be unlocked with a YubiKey 5 series device in Smart Card mode. This will result in a BitLocker drive that is secured by a physical piece of hardware and only requires typing in your YubiKey PIN to unlock.
2022-01-17 UPDATE: Step 7 has been updated to improve the completeness of configuring the YubiKey. This will be particularly helpful to anyone with multiple keys, but good for those without as well.
Requirements
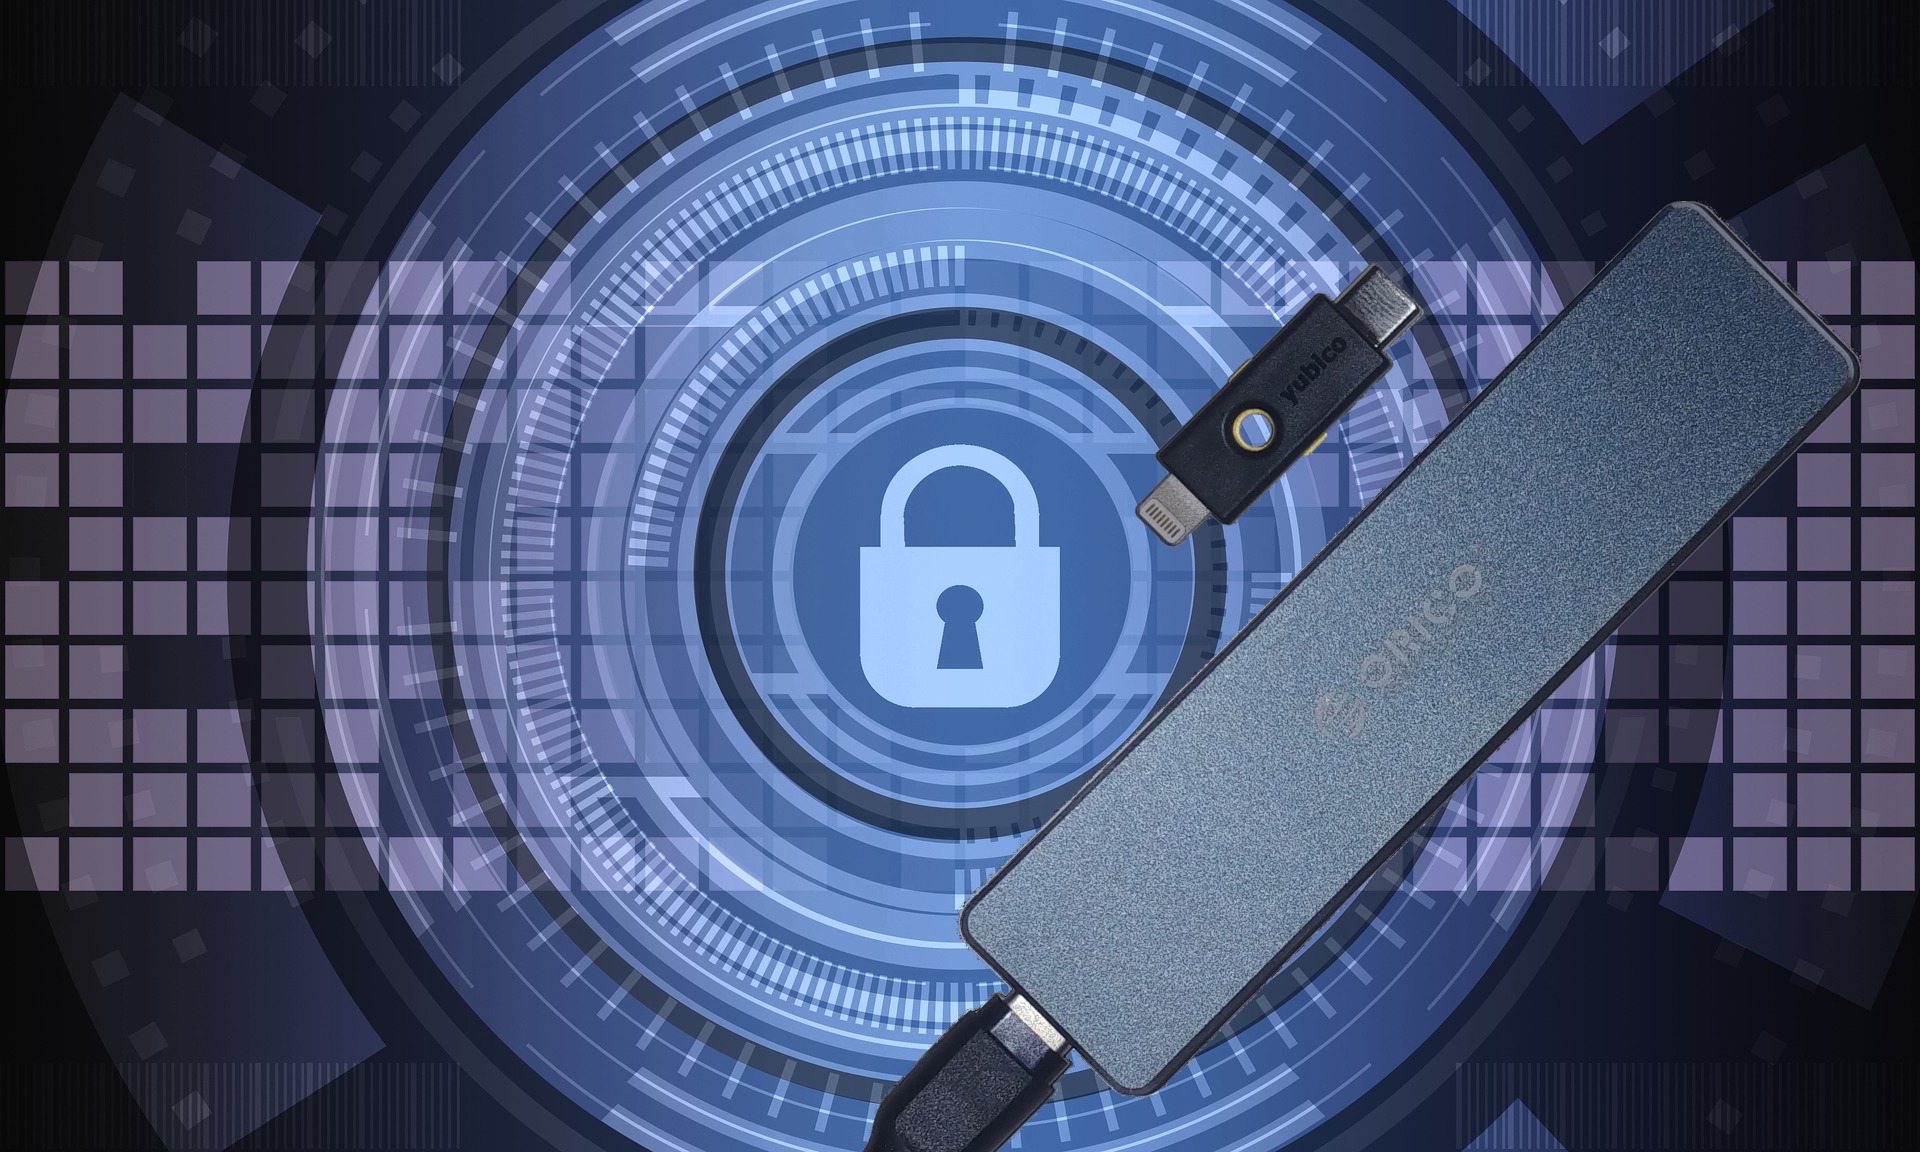
- Windows 10 Professional (or higher)
- YubiKey 5 series (I used a 5Ci)
- External hard drive, USB key, or Virtual hard drive
Configuration Steps
1. Download and install the YubiKey Manager, YubiKey Smart Card Minidriver, and optionally Yubico Authenticator apps. The authenticator app is not required for this guide, but it is useful for registering two-factor authentication (2FA) tokens to your YubiKey.
- YubiKey Manager
- YubiKey Smart Card Minidriver
- Yubico Authenticator: Windows 10, Android, iOS
2. Create a text file with the following contents to use as a certificate request. I have set the certificate request to generate a certificate that is valid for 99 years; but you can change the ValidityPeriodUnits if a different amount of time is desired. You may also change the OID value, only do so if you have a reason for it. The name of the file does not matter, but I have used bitlocker-certificate.txt.
[NewRequest]
Subject = "CN=BitLocker"
KeyLength = 2048
HashAlgorithm = Sha256
Exportable = TRUE
KeySpec = "AT_KEYEXCHANGE"
KeyUsage = "CERT_KEY_ENCIPHERMENT_KEY_USAGE"
KeyUsageProperty = "NCRYPT_ALLOW_DECRYPT_FLAG"
RequestType = Cert
SMIME = FALSE
ValidityPeriodUnits = 99
ValidityPeriod = Years

[EnhancedKeyUsageExtension]
OID=1.3.6.1.4.1.311.67.1.1
3. Open the Registry Editor and add the following key. Press Windows + R, then type in regedit, and click OK to open the Registry Editor.
- Browse to: Computer\HKEY_LOCAL_MACHINE\SOFTWARE\Policies\Microsoft\FVE
- Right-click in the window pane on the right and select: New -> DWORD (32-bit) Value
- Type the following name for the key: SelfSignedCertificates
- Double-click the key to open it and set the value to: 1
4. Open the Local Group Policy Editor to ensure that smart card certificates are properly configured for use with BitLocker. To open the Local Group Policy Editor press Windows + R, then type gpedit.msc, and click OK.
- Browse to: Local Computer Policy -> Administrative Templates -> Windows Components -> BitLocker Drive Encryption
- Double-click to open: Validate smart card certificate usage rule compliance
- Set the rule to: Enabled
- Ensure that the Object identifier: is set to 1.3.6.1.4.1.311.67.1.1 (or if you changed the OID in step 2 it must match that value)
5. Open PowerShell to generate the certificate to use with BitLocker and the YubiKey. This is the certificate that will be loaded onto the YubiKey.
- Change directory to where you saved the text file from step 2
- Run the following command: certreq -new .\bitlocker-certificate.txt
- Enter a name for the request file such as: bitlocker-certificate.req
- Delete the .req file as it is not needed
- Delete the .txt file from step 2
6. Open the certificate manager to export the newly created certificate in a format that can be loaded on to the YubiKey.
- Open the Windows start menu and type: Manage user certificates
- Click to open the certificate manager program
- Browse to: Certificates – Current User -> Personal -> Certificates
- There you will see a certificate titled BitLocker
- Right-click and select: All Tasks -> Export…
- Click Next, then select Yes, export the private key, then click Next again
- Click Next, then check the Password: box, and enter a password for the certificate (I used ‘1’ as this file will be deleted later anyhow)
- Click Next, then Browse… and save the file as bitlocker-certificate.pfx, then click Next, and finally Finish
7. Open the YubiKey Manager program to import the certificate to your YubiKey.
- If not already done, insert your YubiKey into your PC
- Open the YubiKey Manager app
- Go to: Applications -> PIV -> Configure Certificates -> Card Authentication
- Click
Importand browse to and select the bitlocker-certificate.pfx file - Type the password you assigned to the certificate in step 6
- Check the Use default box on the Management key screen and click OK
- Delete the bitlocker-certificate.pfx file from your PC (may want to wait until completely finished for this)
2022-01-17 UPDATE
After further testing, I have found that it can be helpful to configure the PIN Management section of the YubiKey as well. This is primarily to ensure that configuring multiple keys works without issue, but should also ensure that your keys are set up in the most secure way. These additional steps will provide a standard configuration.
- With the YubiKey Manager program still open go to: Applications -> PIV -> Configure PINs
- If not already done, click Change PIN to update the PIN to something other than the default
- Then, from the Configure PINs screen, click Change PUK
- Add a PUK that is different than your PIN, this is essentially your backup PIN
- Then, from the Configure PINs screen, click Change Management Key
- Click Generate, and ensure the Protect with PIN box is checked
- Repeat this process on your other keys, be sure to copy the generated key to those keys
Note that the management key should be the same on all of your keys and also kept secret. That is, only click Generate on the first YubiKey. If you would like to add another YubiKey in the future you will need to store this key as you cannot retrieve it. For further information on PIN management see the YubiKey documentation.
8. Encrypt your device with the now configured YubiKey. Once this step is completed you will have an encrypted drive that can be unlocked with your YubiKey.
- Connect your storage device to your PC
- Open File Explorer and go to This PC
- Right-click on the device you would like to encrypt with BitLocker
- Click Turn on BitLocker
- Check the Use my smart card to unlock the drive box and click Next
- Select one of the options to backup your recovery key. This is important, as if you lose your YubiKey this will be the only way to unlock your drive
- Click Next and then select how much of your drive to encrypt. I typically select Encrypt entire drive (slower but best for PCs and drives already in use)
- Click Next and then select which encryption mode to use. I typically select New encryption mode (best for fixed drives on this device)
- Click Start encrypting
- That’s it, you are now ready to unlock your encrypted drive with your YubiKey
- Remember to empty your Recycle Bin to permanently delete the certificates that were used during setup
9. Verify that everything worked as expected. If for some reason things are not working remember that you can use the recovery key from the previous step to unlock the drive at any time.
- Right-click on your device in File Explorer and select Eject
- Remove the device and re-insert it into your PC
- Click on the device in File Explorer to bring up the BitLocker menu
- Click Use smart card
- Enter the PIN you have set on your YubiKey (default is 123456, but I would highly suggest changing it)
- Your drive should now be unlocked
Bonus Step
If you are like me you may have a second YubiKey in case you lose one of them. The great news is that you can use more than one YubiKey to unlock the same device.
- With the YubiKey you just configured inserted into your PC open the YubiKey Manager app
- Go to: Applications -> PIV -> Configure Certificates -> Card Authentication
- Click export and save the file as bitlocker-certificate.crt
- Remove your first YubiKey from your PC and insert your second YubiKey
- Go to: Applications -> PIV -> Configure Certificates -> Card Authentication
- Click Import and browse to the .crt file that was just exported
- Check the Use default box and click OK
- Delete the bitlocker-certificate.crt file
That’s all for setting up another YubiKey. Now you should be able to unlock your BitLocker drive with either key.
When trying to import the crt on the second yubikey, I’m getting an error “Could not deserialize key data”
Any suggestions?
Hi JR,
Did you use the instructions in the Bonus Step section of this article? When you export your key from the YubiKey Manager it should be in the correct format for use with other YubiKeys. Also, did you make sure that you entered the password set in step 6 correctly?
Not that this should make a difference, but which type of YubiKey are you using? I have tested this on 5Ci and 5NFC. As best I can tell anything in the 4 or 5 series should be ok. I see they have a few other products though.
Nathanael
Hi Nathanael,
Thank you for a beautiful post. I’ve tried doing all your steps successfully but BitLocker said “A suitable certificate for BitLocker can’t be found on your SmartCard”.
I’m using Windows 11. Any thoughts about fixing the problem? I’m looking forward to a resolution, digging my research on Google but failed miserably .
Best regards,
Steve
Hi Steve,
I did a bit of checking into BitLocker for Windows 11. Does not look like there have been any changes there, so that is likely not a factor.
Sounds like either the certificate that was generated is not compatible with BitLocker or the certificate was not properly imported to the YubiKey. If the certificate was generated incorrectly, regenerating the certificate may work (steps 2, 5 to 7). The first time I tried getting things working I had to repeat the steps and that worked for whatever reason. I guess something must have been slightly off on my first attempt. If you used a different OID in steps 2 and 4 I would recommend using the one in the article (also recommended by Microsoft). I have also posted a screenshot of what it looks like in my YubiKey Manager in the Certificates screen. You must use the Slot 9e certificate from everything I have found.
Nathanael
Same Error for me, might be a bit old.
Followed the Guide 2 times also changed the Certificate that is used to encrypt drives in User Accounts because it was the wrong one, but still no luck.
It says: No valid Smartcard found after entering the PIN for my Yubikey.
Hi Enaske,
I hope you figured things out, been a while since I checked the comments here.
I have seen this when I had multiple devices in play. For example when setting things up between my desktop and laptop the second device gave me this error. I think I just needed to install the minidriver listed in step 1 to resolve; I suspect you have already done this. If you configured your YubiKey on another device I would suggest trying to configure BitLocker there too.
I’m skeptical that this method is actually based on PIV / Yubikey.
If you are exporting the Private key and importing it into Windows then there is no point in having a PIV Smart Card.
Is my understanding correct?
Hi Matt,
A valid concern, but not to worry, if you follow this guide the key will not reduce the security.
The private key is simply to verify the authenticity of your smart card (or in this case YubiKey). The actual authentication is part of the smart card system itself, so you still need to have a smart card with the key loaded. That said, if you were to export the private key and load it on to another YubiKey, that key could then be used to unlock your BitLocker drive. The important thing here is that when the key pair is imported into Windows, the private key is not marked as exportable. The method to import the key pair used in this guide does not allow exporting afterwards.
This is also why I suggest in Step 7 to delete the .pfx file. Once that file is gone, you will not be able to export the private key (unless you allowed it via Windows or the YubiKey Manager during import there). To verify, you can type ‘Run’ into the start menu, then type MMC there, under File -> Add/Remove Snap in…, add the Certificates snap-in and select My user account. Then under Certificates – Current User -> Personal -> Certificates you will find your BitLocker key. Right click it and select All Tasks -> Export. If the private key can be exported you will likely want to reload the key on your system so that it cannot be exported. Should look like the screenshot below.
Nathanael
Thanks for the great post!
Have you had any luck using ECC certificates for Bitlocker?
I tried a few times myself but couldn’t get it to work. I have read some places that for some reason it’s not possible…
https://superuser.com/questions/1547656/why-cant-i-add-an-elliptic-curve-certificate-smartcard-yubikey-piv-as-prote
Keep us posted if you achieve anything!
Are there any articles out there for an admin to provision YubiKeys for domains users?
Hi Mike,
I talked with some people at yubico a while back on this topic and while they do have software to help with domain provisioning, it is only available with the YubiEnterprise subscription service. That service has a minimum requirement of 750 users, so for small and medium companies it just is not affordable.
During that call they did direct me to one of their partners AuthLite. In this case, we ended up giving their product a try and it is definitely something that I would recommend. Their product provides the ability to manage MFA for all domain users without the need to install additional software on client machines (just one lightweight app to install on Domain Controllers). Typically, just appending the MFA code to the username field is all that is required. This also works for integrated services such as VPNs (can confirm that Cisco AnyConnect works with AuthLite). Best of all, AuthLite will not break the budget!
Nathanael
Hey, very nice tutorial! I did not find FVE in step 3, so I created it myself. Bitlocker still says it cannot find a usable certificate.. I am guessing it is because of this? What could be the reason for the missing node?
Hi Dominik,
I am not sure why the FVE key would be missing; upon checking my current PC, I am also missing the FVE key. I would suggest to right-click on the Computer\HKEY_LOCAL_MACHINE\SOFTWARE\Policies\Microsoft and select New -> Key. Then name this Key FVE. After this you will be able to perform step 3.
Nathanael
My FVE folder was missing as well, until I enabled the “Validate smart card certificate usage rule compliance” from step 4 that it showed up in the registry editor.
I suggest enabling that and then going back to step 3 and continuing. Hope this helps!
Thank you for this guide. It works on Windows 10 Pro and Windows 11 Pro for me as of Septemner 2022.
I want to add that I lost quite a lot of time for error “A certificate suitable for BitLocker can’t be found on your smart card.”, and it’s most probably related to the fact that I initially did not install YubiKey Smart Card Minidriver. It is clearly written in the first step but I managed to ignore it on first attempt and then skipped over it as “already done” when reading again and again the instructions. Just writing this if it will save time to somebody else.
I don’t get the option to” Use my smart card to unlock the drive” when turning on bitlocker for the system drive. Does this method not work for system drives? I can enable it for my other partition.
Hi Joseph,
BitLocker on boot drives can use one of the following to unlock: TPM chip, PIN, or password. As per Microsoft documentation smart cards are not supported for this situation.
Just got a few yubikeys (5Ci) in and wanted to start utilizing them for things. In my case Step 3 and 4 were reversed. Once I completed Step 4 then the FVE directory in regedit appeared with the correct OID versioning.
Thanks for the guide!
Just a heads up, when you do the export process inside of the manage certificates section, I had to change the encryption to RSA or I’d get an out-of-index range error. Once this was exported with RSA it was able to be imported into my Yubikey
After following these steps, would I be able to mount the encrypted drive on another, unmodified Windows Pro computer using the Yubikey? Would the other computer likely need configuration changes before I could unlock the drive?
Hi Bill,
You may need to install the YubiKey Smart Card Minidriver mentioned in Step 1 on the target machine. As for the Bitlocker requirements there should be no issue. Although, if memory serves correctly, I believe when I set up my current laptop I was able to unlock the drives without any extra setup.
After installing the certificate on the Yubikey, can I then delete the certificate in the Windows certificate manager?
Yes, you can delete the certificate after everything is set up. The public portion of the key will be added back whenever you unlock the drive, but that’s not a concern.
What should I do if, in accordance with Step 3, I do not see the ‘FVE’ folder in the location ‘Computer\HKEY_LOCAL_MACHINE\SOFTWARE\Policies\Microsoft\FVE’ (while I am also unable to create it, as the system indicates that it already exists), and the computer is operating in a Windows domain?
Hi Pawel,
If your PC is on a domain you would likely need to contact your IT administrator for help with this step.
Or, if you have another PC available that you have administrative rights to, you could use that one for the configuration of the BitLocker drives (assuming it is not an internal drive on the PC in question). You can still use the domain PC to unlock the drives, just complete Step 1 so that the domain PC has the required drivers for the YubiKey.
Nathanael
Easy, just do step 4, then step 3. That sets up the FVE folder in the registry.
Thanks for the guide! I followed the guide and it works perfect for an external usb drive. but i started using the guide to use it for my internal C drive. and it just doesnt work. When i click on turn on bitlocker the window with “Use my smart card to unlock the drive” just doesnt appear. It just skips right to the window where you save the key. How can i fix this?
Hi Eden,
I do not believe that using a YubiKey as the unlocker for the operating system drive is currently possible using the options built into Windows. For operating system drives you can do one or both of TPM or boot PIN. There are 3rd party software products such as DriveLock and Cryptware listed on the Yubico website that can do this; although it is likely none of these are free.
Thanks for the guide!
I am trying to create a PowerShell-Script that automatically creates and encrypts VHDX-drives with BitLocker, I want to be able to use a Yubikey to unlock them. To add the Certificate I am using its thumbprint and the manage-bde command (manage-bde -protectors -add X: -certificate -ct THUMBPRINT), but for some reason I always get the same error Code 0x80310074. Do you have an idea on how this can be fixed?
Hi Valentin,
Are you able to complete step 8 using File Explorer? Looking at the Microsoft Documentation I see that it notes FVE_E_POLICY_USER_CERT_MUST_BE_HW, Group Policy requires that you supply a smart card to use BitLocker, as the error you note. To me this would suggest that one of the prior steps in the article may still need to be completed.
When you go to enable it through File Explorer or Control Panel you should receive a prompt for your YubiKey when selecting the smart card option.
Your command line looks good to me though, good idea.
I tried your Bonus Step to Export / Import the certificate from one Yubikey to another with Yubikey Manager. The Export / Import went without error but when I try using the new Yubikey with Bitlocker it says it can’t find a smart card.
Doing an import of the .pfx file to the new Yubikey results in a Yubikey that works with Bitlocker.
Is there a trick to making the Yubikey Manager only method work?
You mentioned “Yubico Authenticator app” can be used but I don’t see anywhere in your instructions on how to set that up with Bitlocker?????
As noted, the authenticator app is not required, just nice to have. Although it looks like more recent versions can manage certificate stuff too; haven’t tested but it could be a replacement for the manager app.
I’m dual booting Linux and Windows. In Windows I followed your instructions in setting up Yubikey smart card certificate and was able to unlock the Bitlocker drive using the PIN nbr. In Linux, I couldn’t unlock the Bitlocker drive in Linux using the same PIN nbr from Windows/Bitlocker. I would have to add a password in Windows/Bitlocker to achieve this but I rather use the PIN. Is it possible to export the certificate in Linux to install it somewhere? Are there instructions for dual booting with Bitlocker?
How are you accessing BitLocker on Linux to begin with? I was not aware there was any form of support as this is a Windows technology.
Now that the GUI version of YubiKey Manager is being discontinued, there may come a time when we can no longer use the Manager software to import directly from a pfx file into YubiKey Slot 9e.
I understand that openSSL allows conversion of a pfx file into two .pem files that can then be imported to YubiKey using the ykman CLI software.
Does anyone have any direct experience with this method or know of another method that works without YubiKey Manager?